(Category: Scripts, Content Creation, Rigging)
(Difficulty: Advanced, PAs, Content Creators)
Hi DAZers …
With the “Set up custom pJCM ERC-Keyed morph” script you can set up instantly a pJCM or any morph you want for a custom rotation.
Instructions:
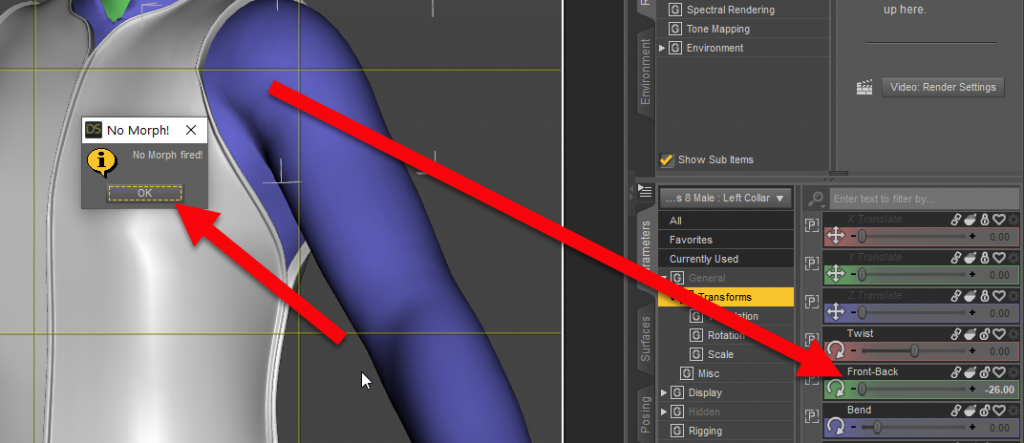
1 – Set the figure’s node custom rotation to the desired value (you can have only one rotation active on the figure).
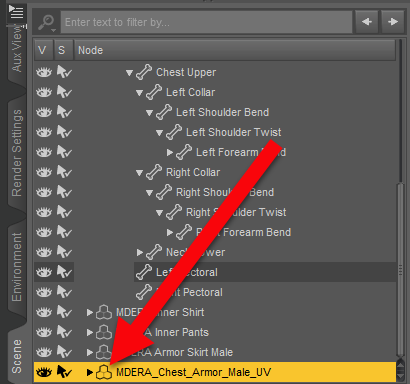
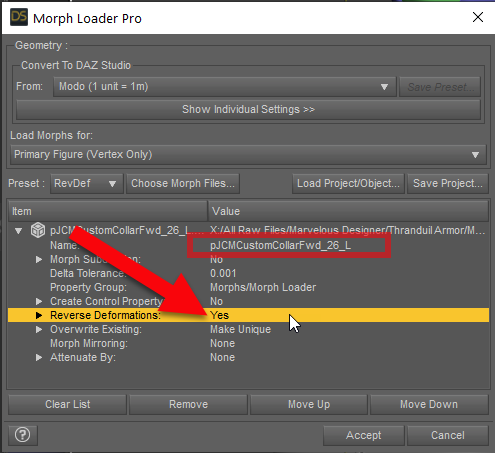
2 – Select your follower (wearable) and load your morph with the “Morph Loader Pro” (Menu: Edit/Figure (or Object)/Morph Loader Pro), using reverse deformation, as usual.
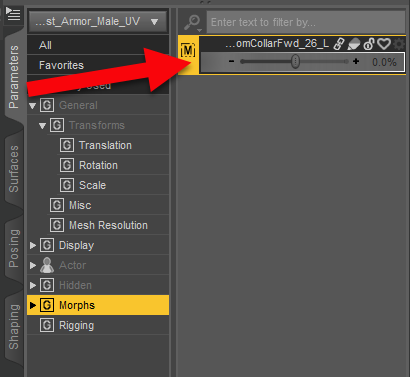
3 – Without deselecting the figure, go to the Parameters tab, in edit mode, and select the new morph.
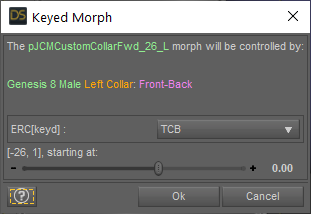
4 – Run the script. It will find the activated rotation on the figure and it will present the information with color:
Light Green: the name of the morph
Light Green:The label of the figure
Orange: The bone’s label
Violet: The Rotation property label
Interpolation: The script by default is using the TCB interpolation, but you can choose linear, or constant if you need.
In the next line the Script presents the values of the ERC link:
[your current rotation value, 1] means that the morph will be at 1 (100%) when the bone will get the current value,
starting at: Choose the value you want the morph to start dialing, using the slider (the default value is 0, but you may want the morph to start dialing in another value). If you are happy with the settings just press “Ok”. The script will set the ERC-Link and a message will be pop up.
The ERC link will be set to be saved with the morph.
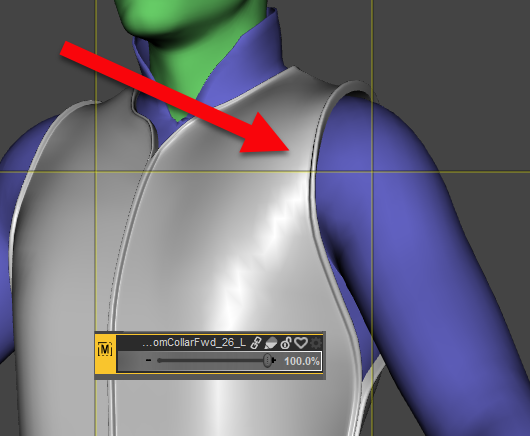
5 – Don’t forget to check the result and save the asset.
Note: You can left click on the value of the slider, and type any new value you want. The slider takes values between the min and the max value of the bone’s rotation property. If, for any reason, you want to get off the limits, cancel the script, go to the current rotated bone of the figure, change the limits and re-run the script (select the morph first).



 in my store page


